


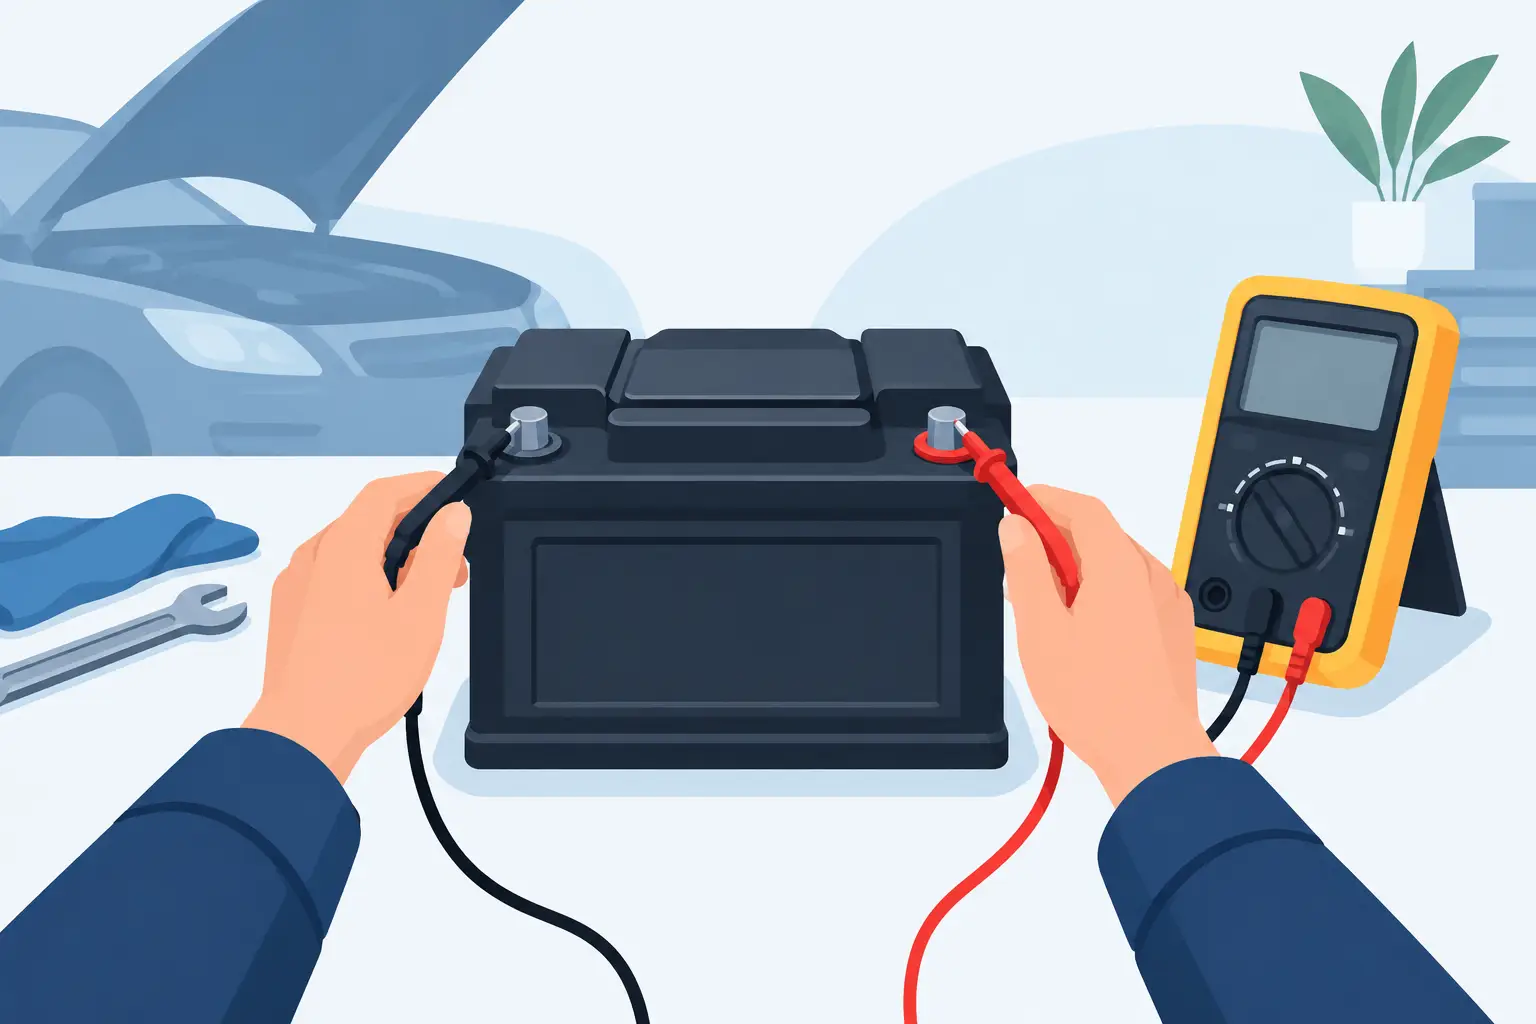
How to Test Battery Cables Without Guesswork

A battery can test good and still fail to start the vehicle. That is not a contradiction. If the battery cables or their connections cannot carry current cleanly, the starter and charging system are working through a bottleneck. Learning how to test battery cables helps separate a weak battery from a cable problem before expensive parts get replaced for no reason.
Corrosion, loose terminals, damaged cable strands, and poor engine grounds are common causes of no-starts, slow cranking, dim lights, and charging complaints. Some defects are obvious. Others hide under insulation or inside a terminal that looks clean from the outside. The right test is not just checking whether voltage exists. It is checking what happens when the circuit is under load.
Start With Safety and the Right Tools
Keep the vehicle in Park or Neutral, set the parking brake, and keep hands, tools, and loose clothing away from belts and fans. Battery acid and hydrogen gas are real hazards, so wear eye protection and do not create sparks near the battery.
For a useful cable diagnosis, you need a digital multimeter, preferably with min/max capability, and a battery terminal cleaning tool or wire brush. A battery load tester can help confirm battery condition, but it does not replace a voltage-drop test. If the vehicle will not crank and you cannot safely perform these checks, stop there. A bad connection can heat up quickly when high starter current is applied.
Inspect the Battery Cables Before Testing
Begin with an honest visual and physical inspection. Look at both battery terminals, not just the one that is easiest to see. White, green, or blue powdery buildup indicates corrosion. Corrosion between the terminal and the battery post can create enough resistance to cause intermittent starting problems.
Check for cracked terminal ends, swollen insulation, exposed copper, melted sections, and cables that feel stiff or unusually hard near the ends. A cable can corrode internally when acid or moisture travels under the insulation. The outside may look acceptable while the copper strands inside have turned black or green and can no longer carry full current.
Follow the negative cable to the body and engine block. Follow the positive cable to the starter, fuse box, or distribution block, depending on the vehicle. Look for loose bolts, damaged ground straps, aftermarket accessory wiring, and terminals that move when you try to twist them by hand. A terminal should be tight enough that it cannot rotate on the battery post.
Do not mistake a clean-looking terminal for a good connection. The contact surfaces may still be loose, oxidized, or damaged. That is why testing under load matters.
Check Battery Voltage First
Set your meter to DC volts. With the engine off and the vehicle sitting for at least a few minutes, measure directly on the lead battery posts, not on the cable terminals. A fully charged conventional 12-volt battery should generally read about 12.6 volts. Around 12.4 volts indicates a partially charged battery. A reading near 12.2 volts or lower means the battery needs attention before you can draw firm conclusions from starter tests.
This is only a starting point. A battery may show 12.6 volts with no load and still collapse during cranking. If voltage falls below roughly 9.6 volts during a normal crank test, the battery may be weak, the starter may be drawing too much current, or cable resistance may be excessive. The voltage-drop tests below help narrow that down.
How to Test Battery Cables With a Voltage Drop Test
A voltage drop test measures resistance where it counts: while current is flowing. Unlike a simple continuity test, it can expose a bad cable, corroded terminal, or poor ground that appears fine with the engine off.
Test the Positive Battery Cable
Set the meter to DC volts. Place the red meter lead directly on the positive battery post. Do not touch the cable clamp. Place the black lead on the starter motor's main positive terminal. Have an assistant crank the engine while you watch the meter.
On many passenger vehicles, a healthy positive cable path should show approximately 0.2 to 0.5 volt drop during cranking. The exact acceptable number varies by vehicle and starter current, but a reading near or above 0.5 volt deserves closer inspection. A drop of 1 volt or more points strongly to excessive resistance in the positive cable, terminal, fuse link, or connection.
If access to the starter terminal is limited, test sections of the circuit. Measure from the positive battery post to the cable terminal, then from the terminal to a distribution block, and then farther down the cable path. The section with the abnormal voltage drop is where the problem lives.
Test the Negative Cable and Engine Ground
For the ground side, put the black meter lead directly on the negative battery post. Place the red lead on a clean, unpainted area of the engine block or starter housing. Crank the engine and observe the reading.
A good ground path typically drops about 0.1 to 0.3 volt during cranking. More than about 0.3 volt can indicate a loose or corroded negative terminal, a damaged ground cable, a poor engine-to-body ground strap, or corrosion where the cable attaches to the engine.
Do not overlook the engine ground because the negative terminal looks clean. The starter grounds through the engine block. A bad engine ground can produce a single click, slow crank, erratic dash lights, or a starter that works only after repeated attempts.
Use a Terminal-to-Post Test for Hidden Connection Problems
If the cable itself tests reasonably well but you still suspect the connection, test across each terminal connection. Put one meter lead on the battery post and the other on the matching cable clamp. Crank the engine.
The voltage drop across that single connection should be extremely low, generally close to zero. Any meaningful reading - especially more than about 0.1 volt during cranking - means the terminal-to-post connection has resistance. Remove the terminal, clean both contact surfaces properly, inspect for damage, reinstall, and torque it securely.
Avoid the common shortcut of tightening a terminal with a screw or wedge when the terminal is stretched or cracked. That may make it feel tight temporarily, but it is not a dependable repair. Replace damaged terminals and cables. A starting circuit carries enough current to turn a marginal connection into a heat problem.
Watch for Symptoms That Point to Cable Resistance
Cable failures do not always produce the same symptom. A severely corroded positive cable can cause a no-crank condition. A weak ground may allow the starter to crank slowly while causing electronics to reset. Resistance in a charging cable can leave the battery undercharged even when the alternator itself is working.
Pay attention to patterns. If headlights dim severely during cranking, the engine starts with a jump but the battery repeatedly goes dead, or the problem changes when the cable is moved, cable testing belongs near the top of the diagnostic process. If the cables get warm or hot after a start attempt, stop testing and inspect the circuit. Heat is evidence of resistance.
Do Not Confuse a Cable Problem With a Battery or Starter Problem
Voltage-drop results need context. A low battery can cause a slow crank without a cable defect. A failing starter can draw excessive current and create a larger-than-normal voltage drop even through good cables. A charging problem can come from the alternator, its control circuit, a blown fuse, or the cable between the alternator and battery.
That is why replacing the battery, starter, and alternator one after another is expensive guesswork. A complete diagnosis checks battery state of charge, battery capacity, starter draw, voltage drops on both sides of the circuit, charging voltage, and the condition of every major connection. The test results should point to the failed part.
When a Professional Electrical Diagnosis Makes Sense
Modern vehicles often have battery current sensors, high-amperage fuse blocks, multiple ground points, and cables routed where a visual inspection is difficult. Hybrid and electric vehicles add high-voltage systems that require different safety procedures. In those cases, a basic meter check may not tell the whole story.
Village Auto Electric handles the electrical problems that are easy to misdiagnose: intermittent no-starts, battery drains, charging faults, damaged cable circuits, and electronic issues that remain after other repairs. We will find the cause and will NEVER replace parts you do not need.
A battery cable is a simple part, but it is part of a high-current circuit that every start depends on. Test it under load, repair what the readings prove is faulty, and your vehicle has a far better chance of starting reliably when you need it most.
Comments