


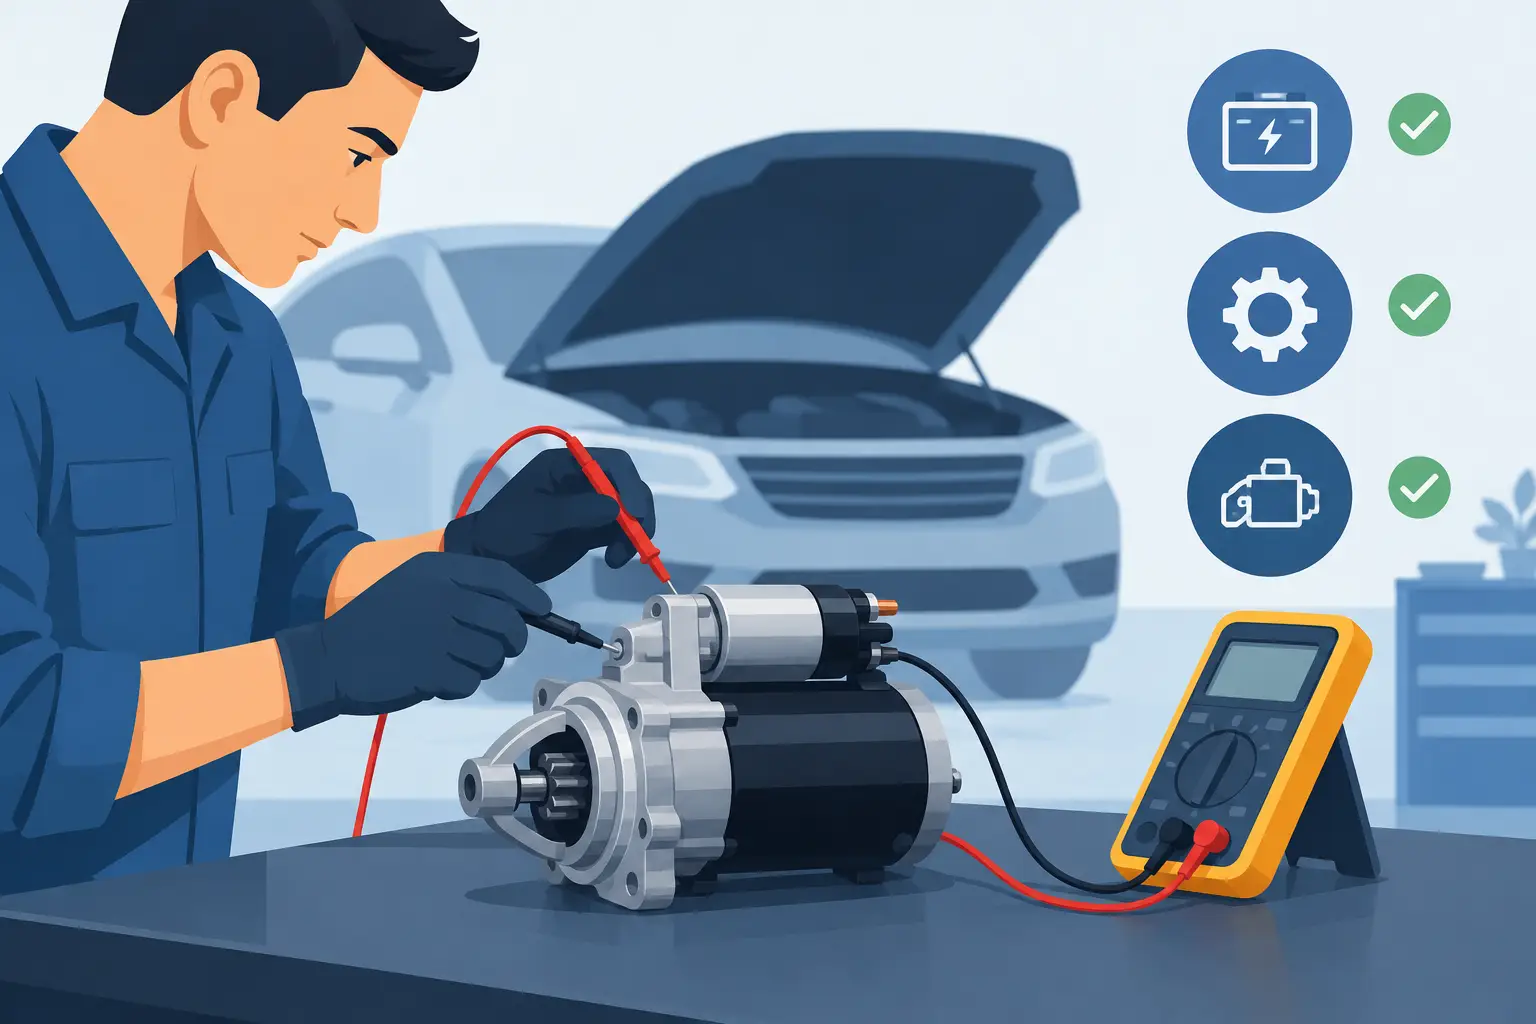
How to Diagnose Starter Failure Before Replacing It
A single click at the grocery store, a slow crank on a hot Mesa afternoon, or a dash that lights up while the engine stays silent can all point to a starting problem. But knowing how to diagnose starter failure means resisting the urge to blame the starter first. A weak battery, corroded cable, bad ground, failed relay, security-system issue, or engine mechanical problem can produce nearly the same complaint.
That distinction matters because starters are often replaced unnecessarily. A correct diagnosis identifies whether the starter is receiving the power and command it needs, whether it can turn the engine, and where voltage is being lost. That is how you fix the vehicle once instead of paying for a part that was never the problem.
Start With the Symptom, Not the Part
Listen carefully to what happens when the key is turned to START or the start button is pressed. The sound and behavior narrow the possibilities, although they do not prove the cause by themselves.
A rapid series of clicks usually points toward low available voltage. The battery may be discharged, a battery connection may be loose, or there may be excessive resistance in a cable or ground connection. One solid click, especially with normal dash lights, may mean the starter solenoid is engaging but the starter motor cannot turn. It can also mean the engine is difficult or impossible to rotate.
No click at all changes the direction of the test. The starter may not be receiving a command signal. Common causes include a faulty starter relay, ignition switch problem, park/neutral safety switch, clutch switch, blown fuse, wiring fault, or anti-theft system issue. On late-model vehicles, starting authorization may pass through several modules before the starter relay is energized.
A slow, labored crank can be a worn starter, but it is just as often caused by voltage loss. Arizona heat is hard on batteries and electrical connections. A battery that appears acceptable at rest may drop too far under the heavy load required to crank an engine.
Rule Out the Battery Before Diagnosing Starter Failure
The battery is the starting system's power source, so test it first. Do not rely on whether the interior lights come on. Lights require very little current; a starter can draw well over 100 amps, and sometimes much more.
A fully charged conventional 12-volt battery generally reads around 12.6 volts with the vehicle off. A lower reading suggests the battery needs charging or may be weak, but voltage alone does not establish battery health. A battery can show a decent surface voltage and fail under load because of internal damage, sulfation, or a weak cell.
Use a proper battery load test or electronic conductance test. Also inspect the terminals closely. White, green, or blue corrosion can create enough resistance to prevent cranking even when the battery tests good. Check that both terminals are clean and tight, including the connections hidden under protective covers.
If the vehicle starts with a jump but not on its own, do not immediately condemn the battery. The battery may be weak, but the charging system could also be undercharging it, or a parasitic draw may be draining it while parked. A jump-start result is a clue, not a complete diagnosis.
Inspect the High-Current Starter Circuit
The starter needs a solid positive path from the battery and an equally solid ground path back through the engine block. Cable problems are common, especially on older vehicles and vehicles with prior battery corrosion, collision repairs, or aftermarket accessories.
Inspect the positive battery cable all the way to the starter if accessible. Look for swollen insulation, green corrosion creeping under the cable jacket, damaged ends, or loose connections. Then inspect the negative cable connection at the engine block and any body grounds. A ground strap can look intact while being badly corroded at its mounting point.
The most reliable way to find a high-resistance connection is a voltage-drop test while attempting to crank the engine. This test measures voltage lost across a cable or connection under load. It is far more useful than checking continuity with the vehicle turned off.
For the positive side, connect a voltmeter between the battery positive post itself and the starter's main battery terminal. Have an assistant attempt to start the engine. Excessive voltage drop indicates resistance in the positive cable, fuse link, terminal, or connections. Test the ground side from the starter housing or engine block to the battery negative post the same way.
Exact acceptable readings vary by vehicle and circuit length, but a large voltage drop is a problem. The key is to test under actual cranking load. A cable can pass a visual inspection and still fail this test.
Do Not Skip the Engine Ground
A poor engine ground can create strange symptoms beyond a no-crank condition. You may see dimming lights, hot cables, intermittent starting, sensor trouble codes, or electrical components behaving unpredictably. In severe cases, current may seek an unintended return path through smaller wiring, causing damage.
Before replacing a starter, verify that the battery negative cable and engine-to-body ground straps are clean, tight, and capable of carrying cranking current. This simple step prevents a great deal of wasted parts replacement.
Check Whether the Starter Is Being Commanded On
If the battery, cables, and grounds test correctly, determine whether the starter solenoid receives its start signal. Most starters have a large battery cable terminal and a smaller control terminal. The large terminal should have battery voltage available at all times. The small terminal should receive voltage only while the vehicle is being commanded to start.
If the small terminal receives the proper signal and the starter has good battery power and ground, yet the engine will not crank, the starter assembly is strongly suspect. Internal solenoid contacts, brushes, armature windings, bearings, or the drive mechanism may be failing.
If there is no command signal, the problem is upstream. Check the starter relay, related fuses, ignition switch output, neutral safety switch on an automatic transmission, and clutch pedal switch on a manual transmission. Try starting an automatic in Neutral as well as Park. If it starts in Neutral but not Park, the transmission range switch or its adjustment may be the issue.
Vehicles with push-button start require additional care. The brake-pedal switch, key fob recognition, immobilizer system, body control module, engine computer, and network communication may all be involved. A generic code reader may not show the information needed to diagnose these systems correctly.
Make Sure the Engine Can Turn
A starter cannot crank an engine that is mechanically locked. Before condemning an expensive starter, confirm that the engine can rotate by hand using the correct socket and breaker bar at the crankshaft pulley bolt. Follow vehicle-specific procedures and keep hands, tools, and clothing clear of moving components.
An engine may be locked by internal damage, hydro-lock from coolant or fuel entering a cylinder, or an accessory seized hard enough to prevent rotation. On some engines, a failed accessory or damaged belt-driven component can make a starter appear defective.
This is also why repeatedly holding the key in START is a bad idea. If the engine cannot rotate or the starter is binding, repeated attempts can overheat cables, damage the starter, or create a fire risk.
Intermittent Starter Failure Needs Real Testing
Intermittent no-crank problems are some of the most frustrating electrical faults. The vehicle may start perfectly at the shop and fail only after a long drive, after sitting overnight, or when outside temperatures are high. Tapping the starter and getting one more start may suggest worn internal contacts or brushes, but it is not a repair and does not rule out a wiring issue.
Heat-related failures are especially common because electrical resistance changes as components warm up. A starter with internal wear may work cold and fail hot. A cable connection may pass a quick test in the driveway but fail when current demand rises after the engine compartment heats up.
The answer is not guessing. Test the system when the failure is present whenever possible, document voltage readings, check command inputs, and inspect the complete circuit. Village Auto Electric has handled difficult starting and electrical faults since 1949, including vehicles that have already received batteries, starters, and alternators without solving the real problem.
When Professional Diagnosis Is the Better Value
Basic inspection and battery testing are reasonable for many vehicle owners. But starter access can be difficult, modern control systems can be complex, and improper testing can damage components or create a safety hazard. This is particularly true when the vehicle has intermittent symptoms, a security warning, multiple warning lights, or a no-crank condition after other repairs.
A paid electrical diagnosis should produce an answer based on test results: battery condition, voltage drop, starter current draw when applicable, start-command status, relay operation, and module or security-system data when the vehicle requires it. We will NEVER replace parts you do not need.
If your vehicle clicks, cranks slowly, or leaves you stranded with no response at all, keep the symptom details in mind: hot or cold, first start of the day or after driving, one click or no click, and whether a jump-start changed anything. Those details give a qualified technician a faster path to the actual failure and a repair you can trust.

Comments